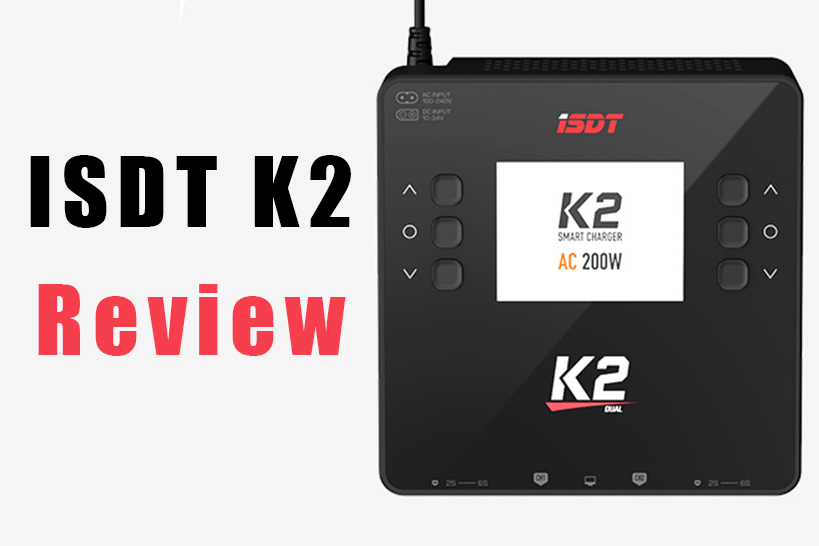
Compared with the size of “D2”, “K2” is larger. Overall, there is nothing surprising about the ISDT K2 compared to other smart batteries. Except for the appearance, the functions are similar. The only bright spot is the large charging power. Below are the details of my review.
ISDT K2 Charger Package Contents
- charger
- power cable
- Instruction Manual
- screen protector
- sticker
power supply
The power supply supports “AC 100~240V / DC 10~30V”.
When the AC power supply is plugged into the socket, the DC plug cannot be plugged in at the same time (because the wiring part of the AC power socket is L-shaped). By the way, it seems to break if you use both AC and DC.
Since it is stated that this charging is compatible with 10 to 30V, I think it is compatible with lipo batteries from 3s to 6s. I have a 2s lithium battery at home, which can also be charged after testing.
This is a US plug as a power source, which is larger than a normal plug. So please be aware that US plugs may not fit sockets in other regions.
Charging function
Press the “O” key between CH1 and CH2 at the same time to enter the setting menu. By the way, the “USB Charge” option on the screen is off by default.
When turned on, power can be drawn from the Type-C socket between sockets CH1 and CH2 when charging the lithium battery.
With a USB port, you can also charge your smartphone or GoPro while charging the lipo battery.
In addition to the charging function, there are other commonly used functions, such as voltage balance, storage function, and so on. You can check the firmware from the settings menu.
Charging can reach 500 watts of power. I try to charge it with a portable power source. 2.0A x 2 charges about 130w, so I can charge it with no problem. If you charge with 3.0A x 1 2.0A x 1, that goes up to around 180w, so that’s probably the limit of your own portable power supply. By the way, the wattage doesn’t seem to increase even with the parallel board.
How to use the ISDT K2 charger
After starting the host, choose which port to use, CH1 or CH2. Use the “O” buttons on the left and right to select.
Long press the “O” button on the left side of the main unit for CH1, and long-press the “O” button on the right side of the main unit for CH2. By default, it has five options of current size, you can also preset it. After that, select “Start” to start charging. The voltage can be checked while charging.

